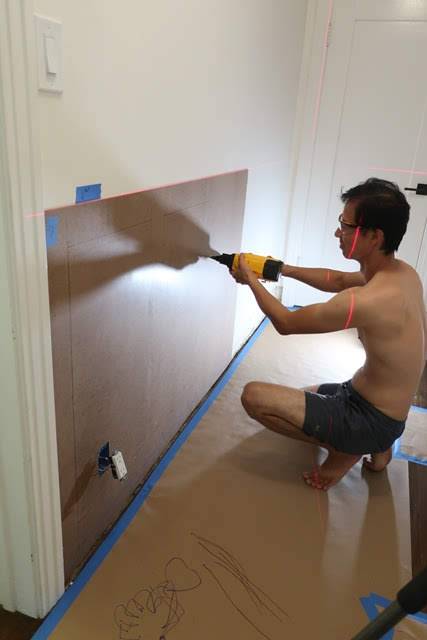
查理斯托小小愛的福, 跟著月子中的媽媽也有了三個禮拜的育嬰假; 不過...母乳親餵的小愛育嬰的是媽媽吧?! 所以查理斯利用這三個星期零星的時間, 改造了一下家裡的走廊
 走廊有什麼好改造的? 上回練習給友人製作的 wainscoting 裝飾牆, 這回把手藝用在自家中
原本單調的走廊
首先拆掉 baseboard
家裡走廊只是普通標準寬度, 為了不使 wainscoting 把走廊顯得更擁擠, 先貼上1/8" 的 hardboard
畫上計算好部分, 沿線貼上1/4" 的 MDF (Medium Density Fiberboard)
最後收邊; 油漆的部分就只能等等了...
"Hallway wainscotting done (mostly... still need to patch nail holes and paint, but with a newborn in the house, that may be a while later). As we wanted to keep the existing door trim, I was limited by the amount of material thickness I could use. Hardboard panels at 1/8" with 1/2" MDF meant I could keep the total thickness of the wainscotting to about 5/8" off the existing walls, so no need to demo the existing walls to help create the depth needed.
As much as possible, nail holes were placed where they'd be hidden behind something. Most all nails holding the wainscotting were nailed at 45deg, and placed at the sides to prevent face nailing (for a smooth final finished look... When ever I get around to actually spray painting). Baseboards were all coped (by hand) at all interior corners. I saw a technique where one keeps the top ~1/8" as a miter to help maintain a mitered look, but still retain the benefits of a coped corner to take up shifting in the house over the seasons. Outside corners were returned with a 90deg angle to maintain the squared look to match the look of the wainscotting.
Unfortunately, the chair rail portion were too much of a pain to cope or return, so that was just assembled with mitered cuts and rounding off exposed square cut ends.
And of course... My measurements were of by 6" (I blame buying in bulk lengths for the mistake that I obviously didn't make)... So I had to join together an extra piece to get a long enough trim. And of course, super glue (with activator)... is actually the right thing to use to glue small pieces together. No pin nails need.
Yes, the walls will be skim coated later (for a smooth finish) ... newborn in the house and all. Yes the popcorn ceilings will go away, but not now for the same reasons. The ghetto lights will get a custom DIY upgrade very soon (look forward to that IKEA hack). And will finish off the ceilings with crown molding... Because that's actually easier than a properly finished 90deg corner joints at the wall to ceiling transition, lol."


No comments:
Post a Comment